How To Build A Raised Planter In Minutes Or Less
Title: How to Build a Raised Planter in 30 Minutes or Less
Introduction:
Raised planters are a great way to add beauty and functionality to your garden. They can also help to improve drainage and soil quality, making it easier for your plants to thrive. If you're looking for a fun and easy project that you can do yourself, building a raised planter is a great option.
In this blog post, I will walk you through the steps on how to build a raised planter in 30 minutes or less. I'll provide clear and concise instructions, as well as helpful tips and tricks. By the end of this post, you'll have all the knowledge you need to build your own raised planter and start enjoying the benefits of gardening in style.
Main Content:
Step 1: Choose your materials.
The first step is to choose the materials you'll need to build your raised planter. The most common materials for raised planters are wood, composite lumber, and metal. Wood is a natural and affordable option, but it can rot over time if it's not properly treated. Composite lumber is a more durable option that doesn't require as much maintenance. Metal is the most durable option, but it can be more expensive than wood or composite lumber.
Once you've chosen your materials, you'll need to measure and cut the pieces to the desired length. You can use a saw or a miter saw to make the cuts.
Step 2: Assemble the frame.
Once you have all the pieces cut to size, you can start assembling the frame. If you're using wood, you can use nails or screws to attach the pieces together. If you're using composite lumber or metal, you can use screws or bolts.
When assembling the frame, it's important to make sure that the corners are square and that the joints are tight. You can use a level to check for squareness, and you can use a hammer or a mallet to snug up the joints.
Step 3: Add the bottom.
Once the frame is assembled, you can add the bottom. If you're using wood, you can use a piece of plywood or a piece of landscape fabric. If you're using composite lumber or metal, you can use a piece of metal flashing.
The bottom of the raised planter should be slightly smaller than the inside of the frame. This will allow for drainage.
Step 4: Fill the planter with soil.
Once the bottom is in place, you can start filling the planter with soil. You'll need to use a soil that is specifically designed for raised planters. This type of soil will be loose and well-draining, which is important for plants that are grown in raised planters.
Step 5: Plant your seeds or seedlings.
Once the planter is filled with soil, you can start planting your seeds or seedlings. Be sure to plant them according to the instructions on the seed packet or seedling label.
Step 6: Water your plants.
Finally, you'll need to water your plants. Raised planters can dry out quickly, so it's important to water them regularly.
Conclusion:
Building a raised planter is a relatively simple project that can be completed in 30 minutes or less. By following the steps in this blog post, you'll be able to build your own raised planter and start enjoying the benefits of gardening in style.
Are you looking for a way to improve your gardening experience? If so, you should consider investing in a raised planter. Raised planters offer a number of benefits, including:
- They can help improve drainage and aeration in the soil, which can lead to healthier plants.
- They can make it easier to reach and care for your plants, especially if you have limited mobility.
- They can help protect your plants from pests and diseases.
- They can add a touch of beauty and elegance to your outdoor space.
If you're interested in learning more about raised planters, visit Home Gardening.
FAQ of raised planter
Here are some frequently asked questions about raised planters, along with valuable insights and solutions:
- What is a raised planter?
A raised planter is a garden bed that is elevated above the ground. This can be beneficial for a number of reasons, such as: * It can make it easier for people of all ages and abilities to garden. * It can help to improve drainage and reduce the risk of soil compaction. * It can also help to protect plants from pests and diseases.
- What are the benefits of using raised planters?
There are many benefits to using raised planters, including: * Improved drainage: Raised planters allow excess water to drain away more easily, which can help to prevent root rot and other plant diseases. * Reduced soil compaction: Raised planters are less likely to compact than traditional garden beds, which can help to improve air and water movement in the soil. * Easier access: Raised planters are easier to reach, which can be beneficial for people with limited mobility. * Better visibility: Raised planters can help you to better see your plants, which can make it easier to monitor their growth and identify any problems. * Increased yields: Raised planters can help to increase crop yields, as they allow you to plant more densely and use more nutrient-rich soil.
- What are the different types of raised planters?
There are many different types of raised planters available, made from a variety of materials, including wood, concrete, plastic, and metal. The type of material you choose will depend on a number of factors, such as your budget, the size of your garden, and the climate in your area.
- How do I build a raised planter?
Building a raised planter is a relatively simple project that can be completed in a few hours. The first step is to choose the right location for your planter. The area should be well-drained and receive at least six hours of sunlight per day. Once you have chosen a location, you can begin to build the planter. The exact steps involved will vary depending on the type of planter you are building. However, most planters will require you to dig a hole, build a frame, and fill the planter with soil.
- How do I care for a raised planter?
Caring for a raised planter is relatively simple. The most important thing is to keep the soil moist, but not soggy. You may need to water your plants more often during hot, dry weather. You should also fertilize your plants regularly, following the instructions on the fertilizer label.
- What are some common problems with raised planters?
Some common problems with raised planters include: * Erosion: Raised planters are more prone to erosion than traditional garden beds. This can be prevented by using a weed barrier and mulch. * Drainage: If the planter is not properly drained, the plants may suffer from root rot or other diseases. Make sure the planter has adequate drainage holes. * Pests and diseases: Raised planters can be more susceptible to pests and diseases than traditional garden beds. This can be prevented by using insecticidal soap or neem oil.
- How long do raised planters last?
The lifespan of a raised planter will vary depending on the material it is made from. Wood planters typically last for 3-5 years, while concrete and plastic planters can last for many years. Metal planters can also last for many years, but they are more prone to rust.
Image of raised planter
10 different images of raised planters that are free to use:
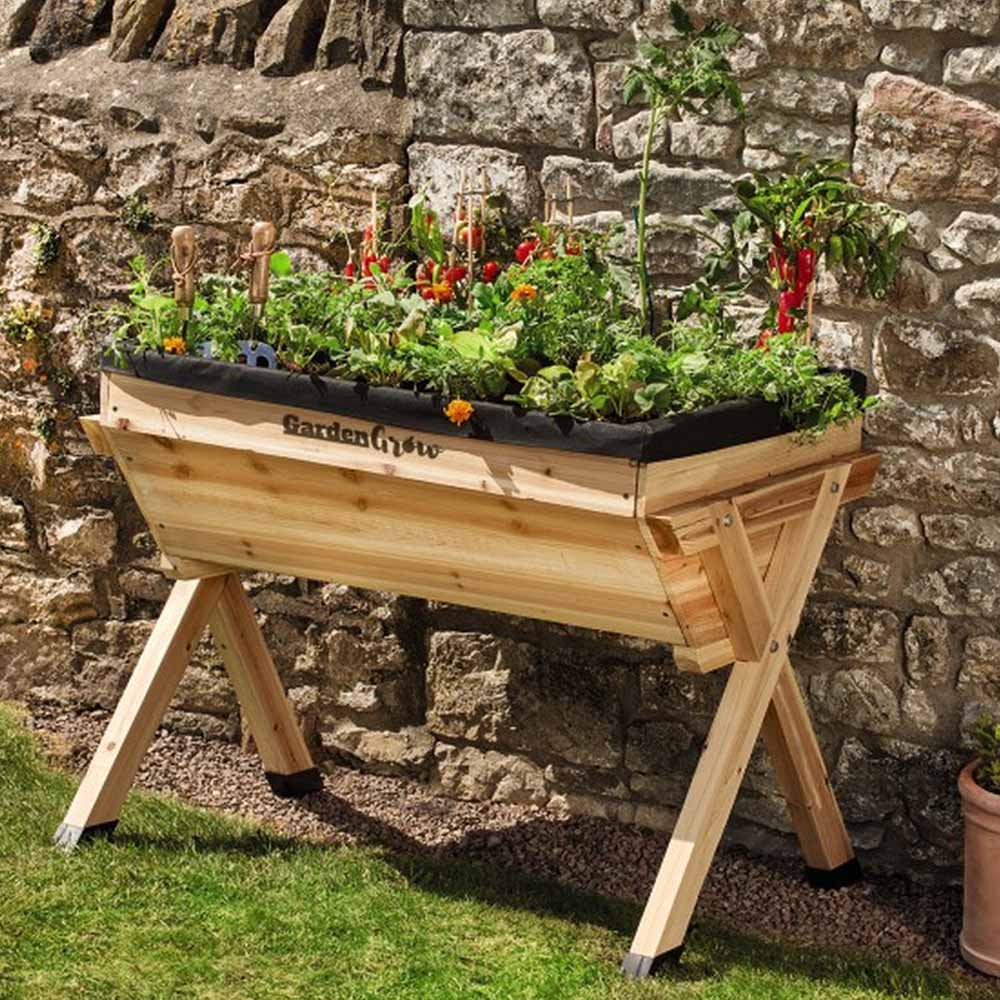
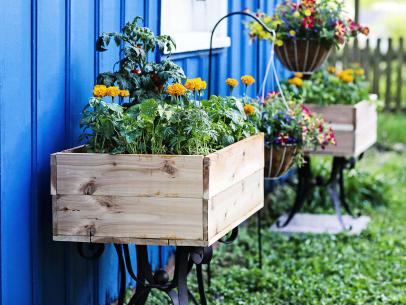
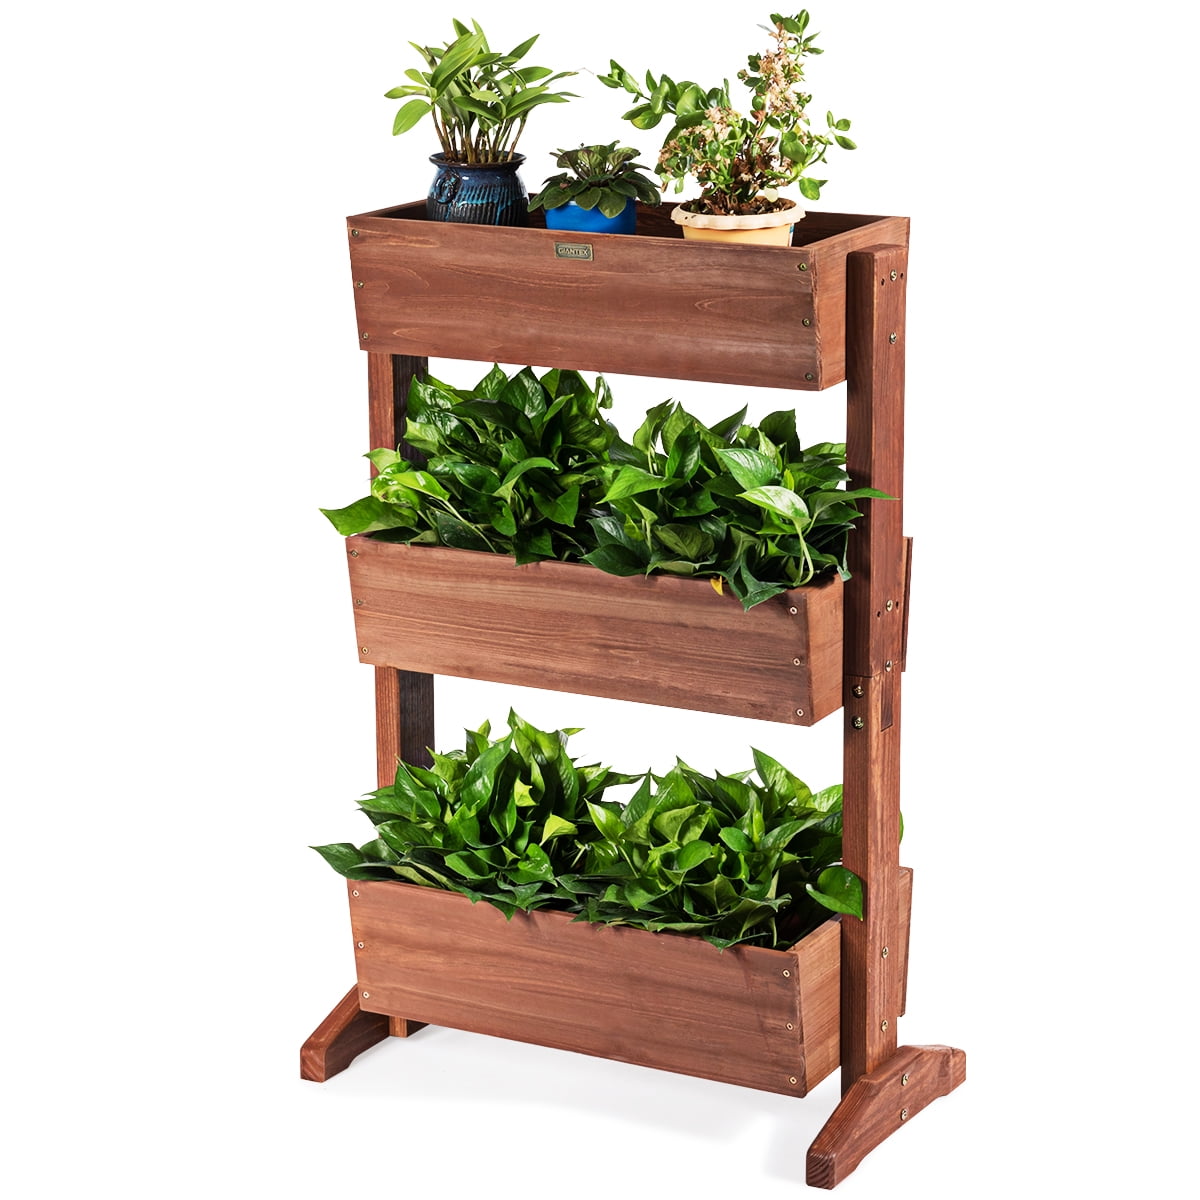
- Wooden raised planter. This is a classic raised planter made from wooden planks. It is a good choice for a variety of plants and can be customized to fit any space.
- Concrete raised planter. This is a more durable option that can withstand harsh weather conditions. Concrete planters can be made in a variety of shapes and sizes and can be painted or stained to match your décor.

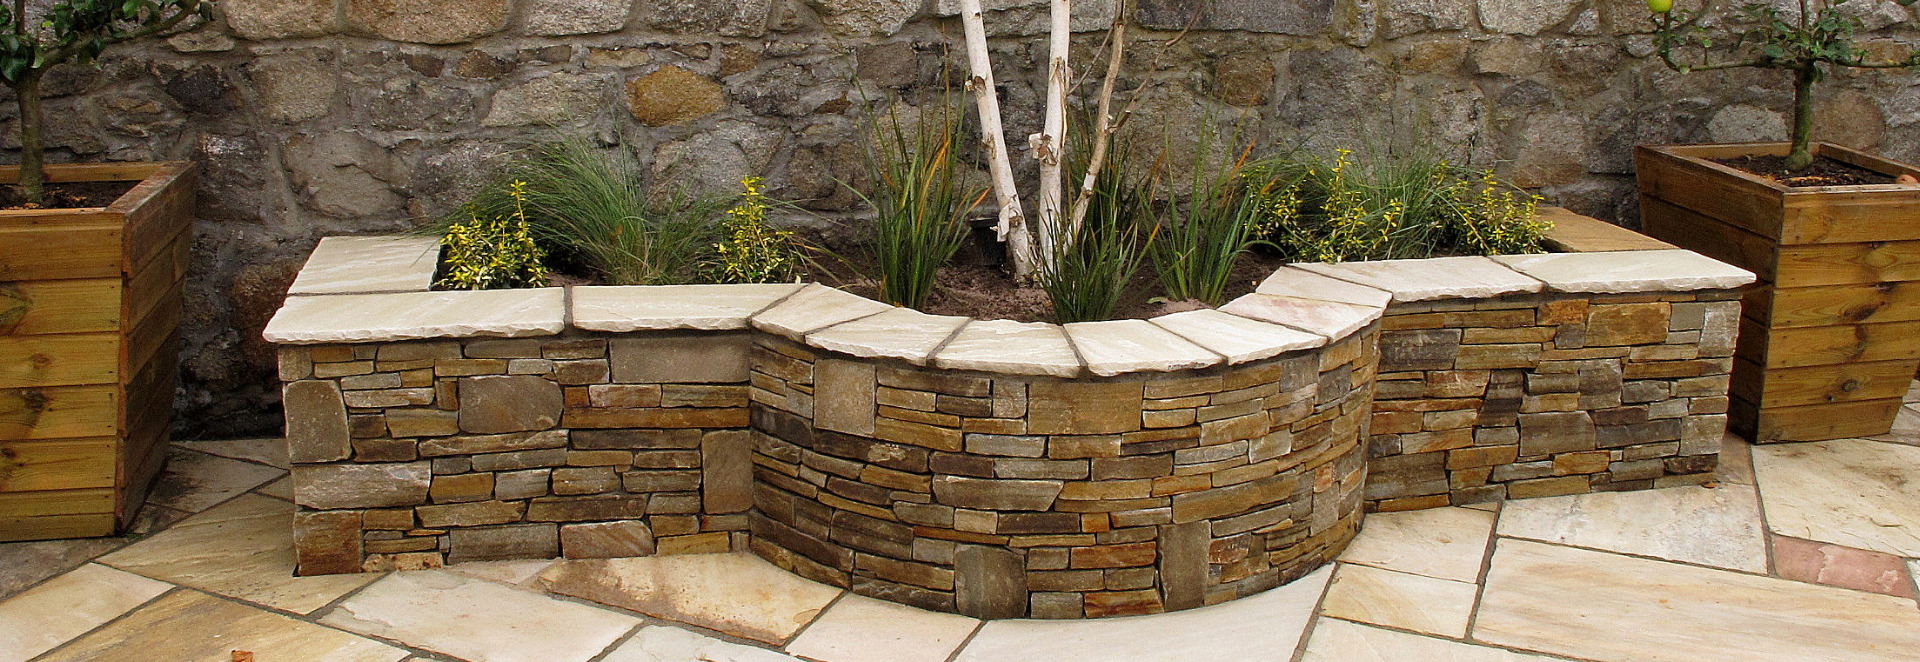
- Stone raised planter. Stone planters are another durable option that can add a touch of elegance to your garden. They can be made from a variety of stones, including marble, granite, and limestone.
- Plastic raised planter. Plastic planters are lightweight and easy to move around. They are also a good choice for gardeners who want to avoid using wood or concrete.

- Metal raised planter. Metal planters are rust-resistant and can withstand most weather conditions. They are also a good choice for gardeners who want a more modern look.

- Brick raised planter. Brick planters are a classic option that can add a touch of rustic charm to your garden. They are also a relatively inexpensive option.

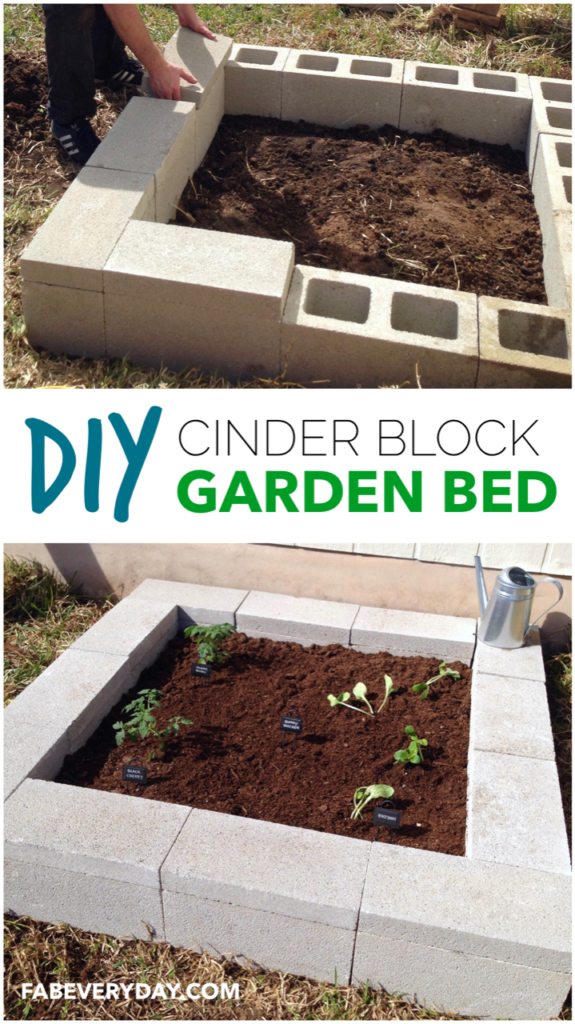
- Cinder block raised planter. Cinder block planters are another inexpensive option that can be made from recycled materials. They are also a good choice for gardeners who want a more industrial look.
- Upcycled raised planter. Upcycled raised planters are made from recycled materials, such as old tires, pallets, or barrels. They are a unique and stylish way to add some personality to your garden.
- Vertical raised planter. Vertical raised planters are a great way to save space in small gardens. They can also be used to grow plants that climb or vine.
- Inground raised planter. Inground raised planters are a permanent solution that can be incorporated into your landscaping. They are a good choice for gardeners who want a low-maintenance option.
Post a Comment for "How To Build A Raised Planter In Minutes Or Less"